This is a tutorial for getting started with development on Soufflé. It is by no means comprehensive, but aims to give a good overview of the basic workflow.
Developers are encouraged to refer to the user documentation, the source code documentation, and the wiki for more detailed information.
Making a Fork
To get started, make an account or (login if you already have one) on Github.
Navigate to the Soufflé repository, and click the fork button to create a fork of Soufflé.
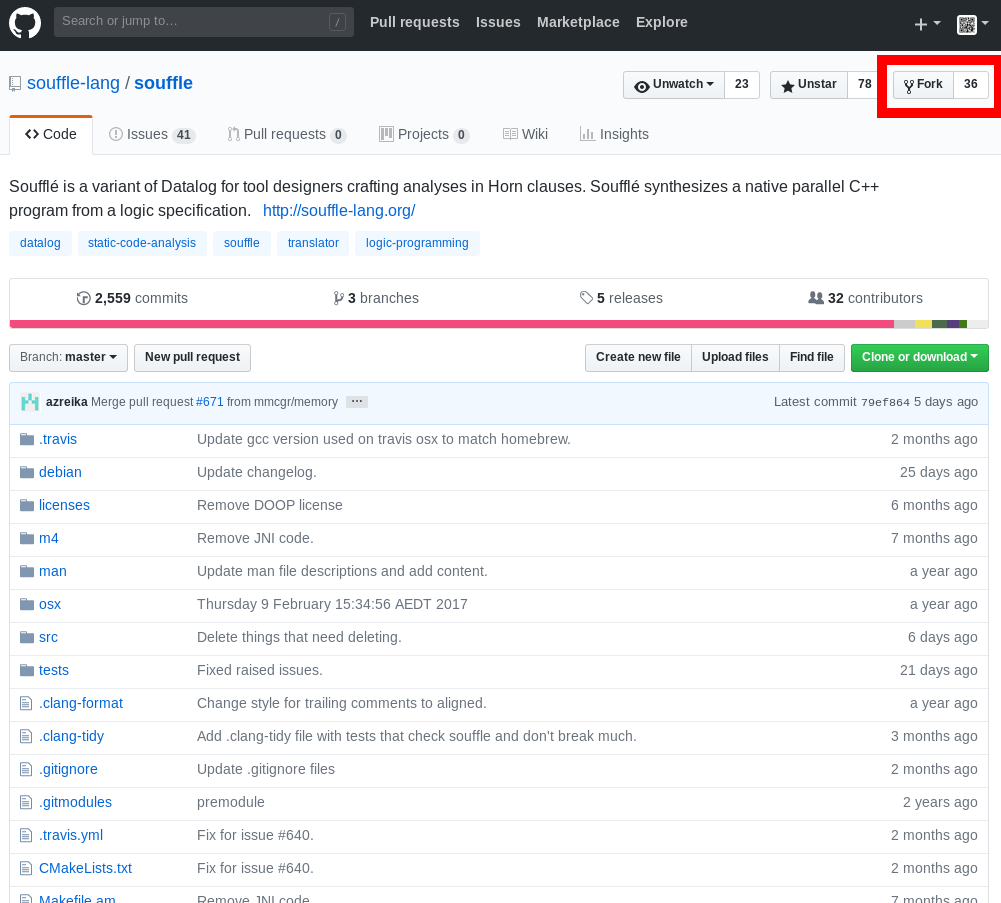
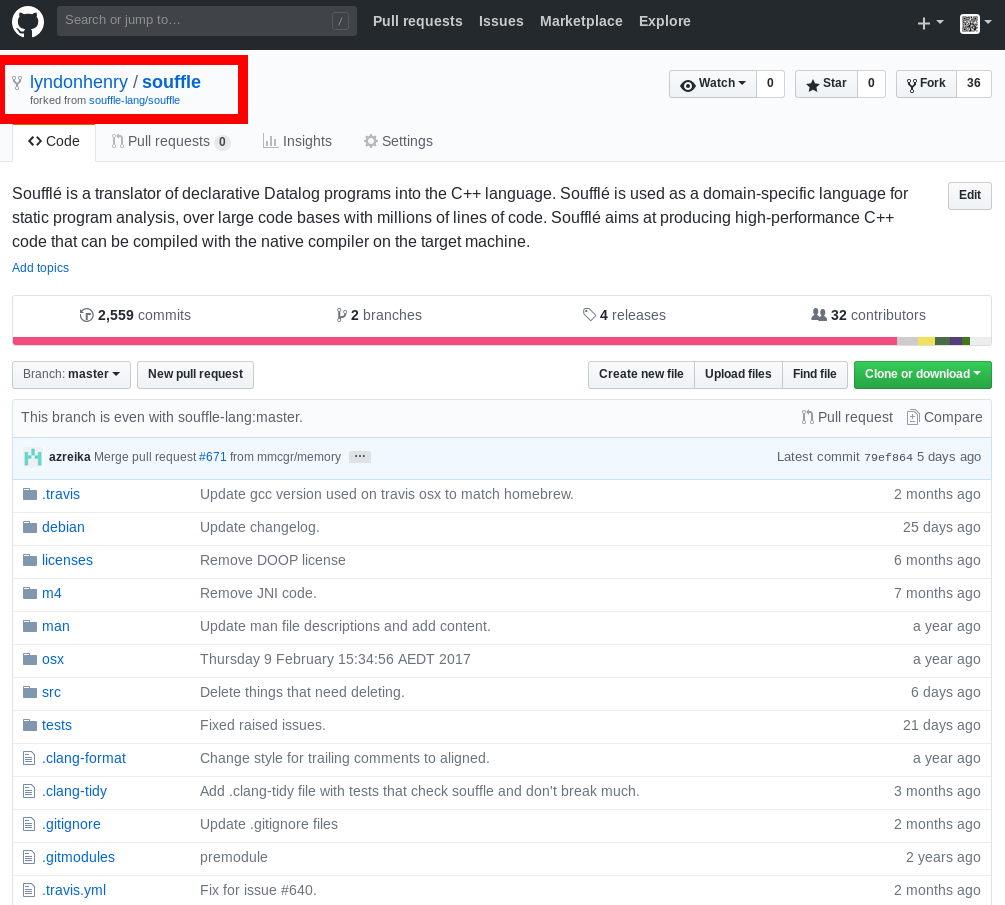
If all goes well, you will now have your own copy of Soufflé to work on in your account.
If you haven’t already, install and configure git on your system. Learning git is outside the scope of this tutorial, and developers are encouraged to look elsewhere if they have not had experience with git.
Clone your fork of Soufflé so you can work on it locally, relpacing <username> with your own Github username.
$ git clone https://github.com/<username>/souffle
This creates a new souffle directory.
$ ls
souffle
Building Soufflé
See Build Soufflé page.
Running Soufflé
The main Soufflé executable is at //src/souffle, where the double forward slash // means “at the root directory of the souffle repository” – this convention will be used throughout the remainder of this tutorial.
We can run the executable with the --help option to give us information on usage.
$ ./src/souffle --help
You should become acquainted with some of these options, and practise running some of the example programs in //tests/examples.
As this is more to do with usage than development, we will not go into detail on this topic here – refer to the section “A Simple Example” to get a good introduction to what these options do.
Making Changes
Most of the C++ for Soufflé lives in //src, and it is here you will typically make your changes. Say you have made some changes, and are ready to merge them with the Soufflé master branch.
You will first need to ensure your code meets the Soufflé style requirements. Fortunately, this can be done automatically with Clang Format version 4.0 or greater, which you will need to install. Ubuntu provides a clang-format package for this purpose, but this may be more tricky to install for other operating systems.
You can format your code with the following.
$ clang-format \
            -i \
            -style=file \
            ./src/*.cpp \
            ./src/*.h \
            ./src/test/*.cpp \
            ./src/test/*.h
You now need to add and commit your changes using git.
$ git add .
$ git commit -m "My meaningful commit message."
You must make sure that your code is able to merge with the upstream.
$ git remote add upstream https://github.com/souffle-lang/souffle
$ git pull upstream master
Be sure to resolve any merge conflicts, and commit the result. You can now push your changes to Github.
$ git push
Note that this pushes your changes to your fork of Soufflé only, not the upstream. To merge our changes with the upstream, we need to create a pull request.
Running the Tests
See Build Soufflé page.
Debugging
Debug mode can be enabled by configuring with --enable-debug. You may also find --enable-sanitise-memory useful to find memory leak,reuse, and use after free issues.
Soufflé has a signal handler that will catch common errors and print error messages helpful for end users. As a developer, you may want to temporarily disable that by setting the environment variable SOUFFLE_ALLOW_SIGNALS=1.
Making a Pull Request
Navigate your browser to back to your Github account, and look for the button marked “Pull Request”.
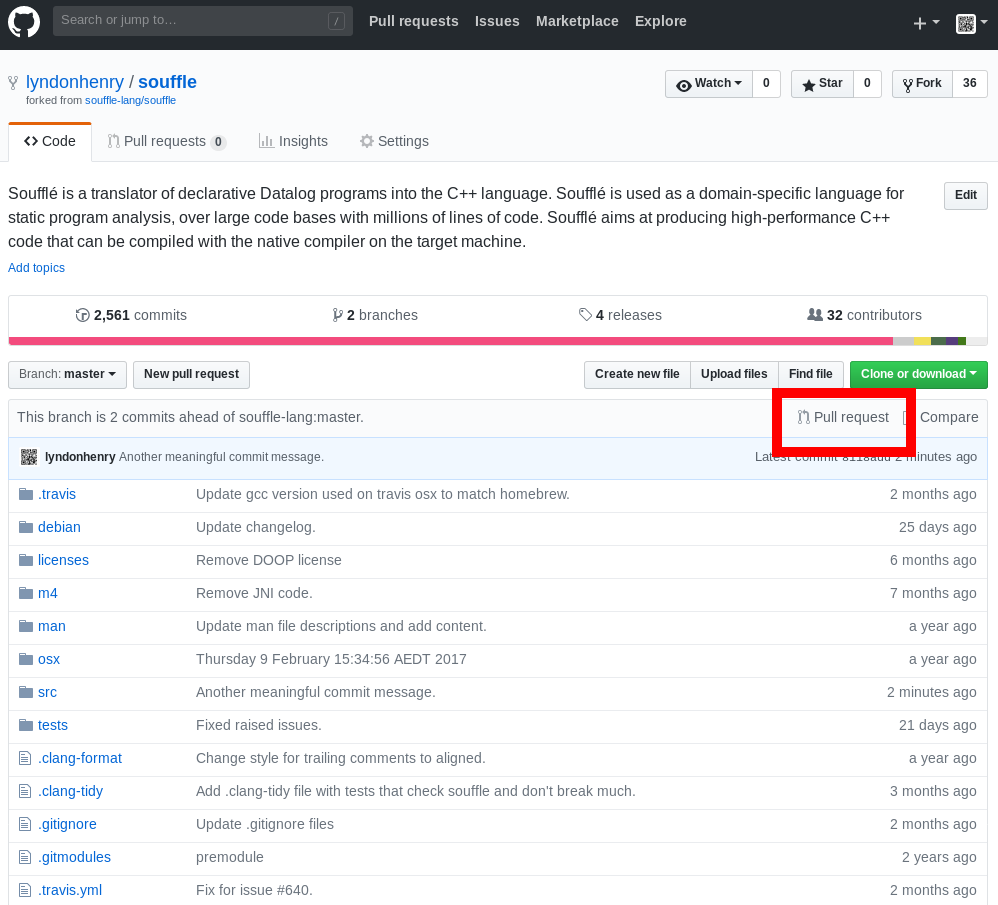
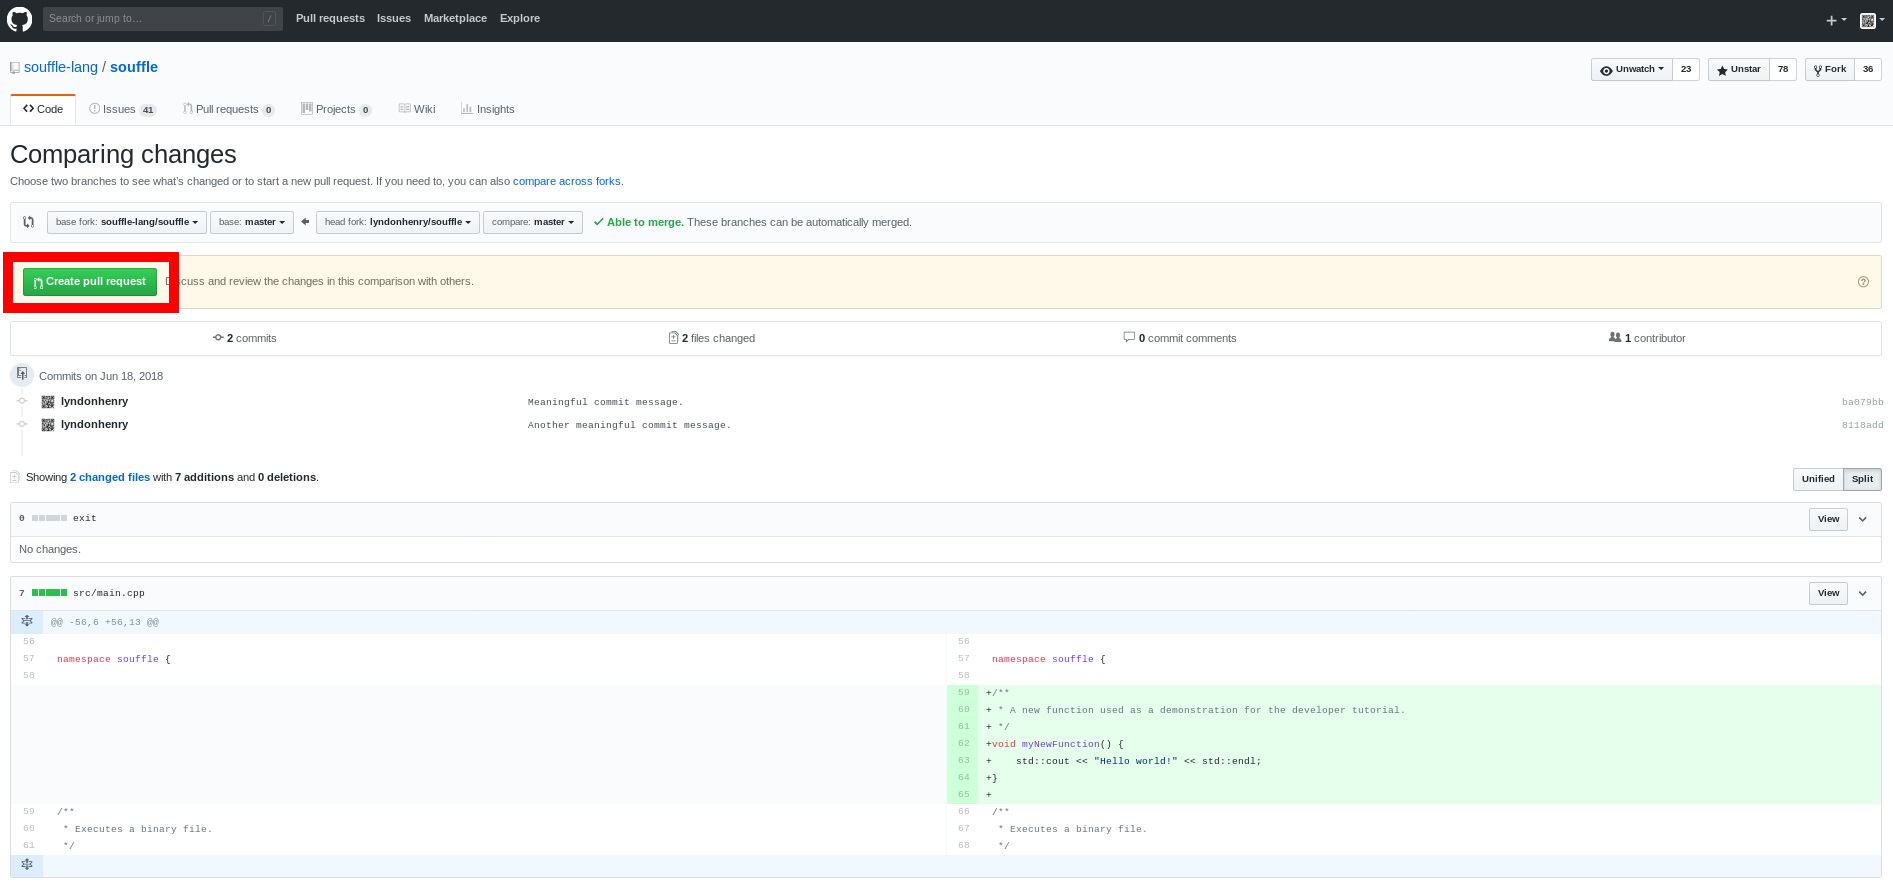
This will give you a diff of your branch compared to the current upstream, where you can compare your changes. When you have made sure that you are happy with your changes, click “Create pull request”.
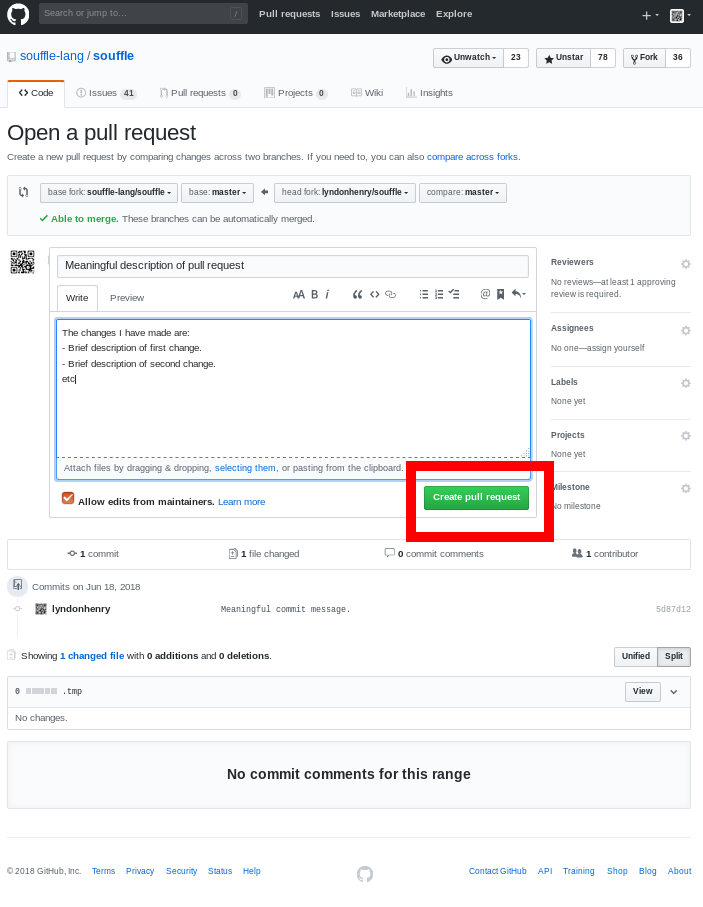
Now enter a meaningful title for your pull request, and give a brief description of the changes you have made. When you are ready, click “Create pull request.”
At this point, the automated testing will begin. You will need to monitor the tests at the pull request page, to ensure that all pass.
If any tests fail, you must fix them locally, then add, commit, and push again. There is no need to create another pull request, and the tests will be re-run automatically for any newly pushed commits.
Your code will also need to undergo a review, and a reviewer will make comments on the pull request about things you have to change. Again, fix any issues locally, then add, commit, and push with git.
After all tests pass, and the reviewer approves your pull request, you will need to wait for your changes to be merged. Note that you must never merge your own changes. When this eventually happens, your pull request is complete, and your current fork will be the same as the upstream.